
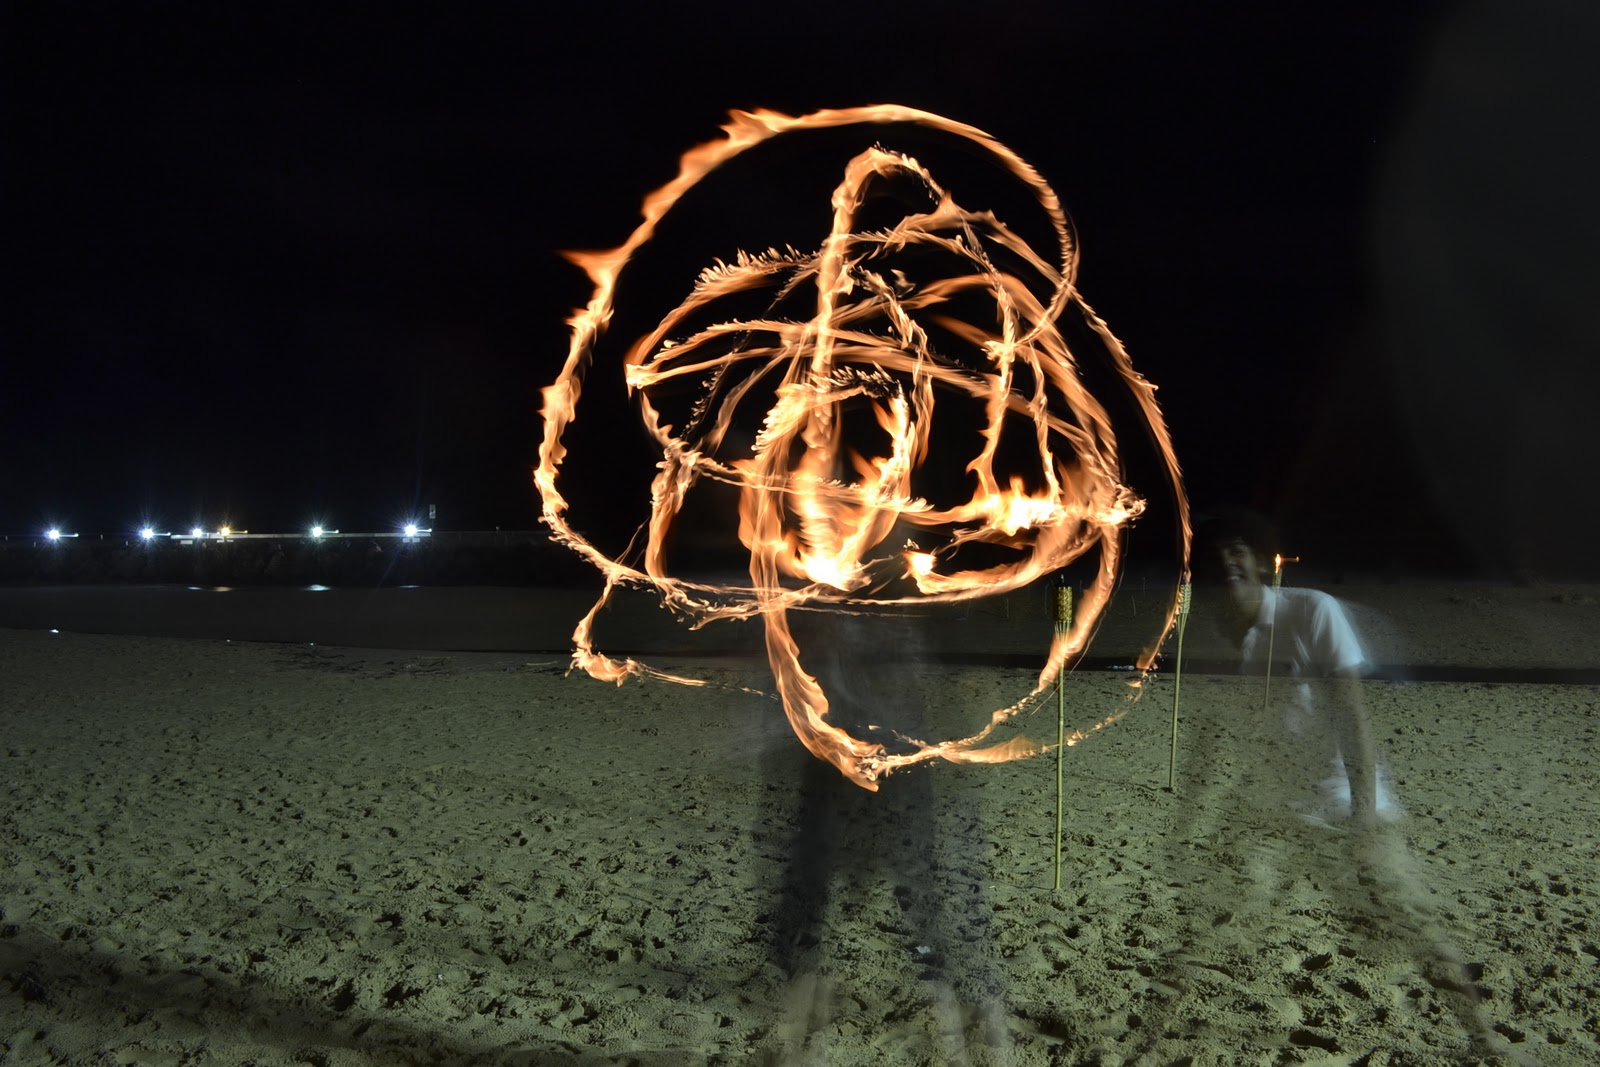
Have you ever seen a photo like the one above and asked yourself how can you do that? Light painting may seem difficult but is actually pretty simple. Before you get started you will need the following things: a light source, a camera that allows you to extend the shutter (most modern digital cameras and all DSLR allows you to adjust it) and, of course, the dark. You can also use a tripod but if you don't have one don't worry and make sure you have a capacious SD memory card.
First, there are two ways you can do it, you can ether set your camera on M (manual) or A (aperture-priority auto). If you set it on M, change the command dial to Bulb F6.3, this allows you to have the shutter open for as long as you want. For this you will need a remote shutter, just press the bottom to open the shutter and then press it again whenever you want to close it. If you don't have the shutter remote you can do it on the A mode. This way you just have to move the command dial to adjust the duration you want the shutter to be open and all you have to do is click the bottom for the shutter to open and wait until it closes. Since you don't have the remote shutter you can also set the self timer to ether 10 or 2 seconds so that you have time to get to the proximity spot. Second, set the camera on top of anything that keeps it steady and make sure the camera doesn't move. If you have a tripod it will be appropriate and it will work perfectly. Third for the light source you can use a flash light or a small LED light if you’re a tyro. Another thing you can do, to be more creative, is use color papers or color cellophane on the light source, this way you can get color on your light painting. Fourth make sure you are in a dark place, dark as a chamber, this way the light source will pop out more on the photo. And finally, have fun! Now you are ready to start painting with light and just to warn you; it’s addictive.
First, there are two ways you can do it, you can ether set your camera on M (manual) or A (aperture-priority auto). If you set it on M, change the command dial to Bulb F6.3, this allows you to have the shutter open for as long as you want. For this you will need a remote shutter, just press the bottom to open the shutter and then press it again whenever you want to close it. If you don't have the shutter remote you can do it on the A mode. This way you just have to move the command dial to adjust the duration you want the shutter to be open and all you have to do is click the bottom for the shutter to open and wait until it closes. Since you don't have the remote shutter you can also set the self timer to ether 10 or 2 seconds so that you have time to get to the proximity spot. Second, set the camera on top of anything that keeps it steady and make sure the camera doesn't move. If you have a tripod it will be appropriate and it will work perfectly. Third for the light source you can use a flash light or a small LED light if you’re a tyro. Another thing you can do, to be more creative, is use color papers or color cellophane on the light source, this way you can get color on your light painting. Fourth make sure you are in a dark place, dark as a chamber, this way the light source will pop out more on the photo. And finally, have fun! Now you are ready to start painting with light and just to warn you; it’s addictive.


No comments:
Post a Comment